Yoga poses for golfers
Stretch yourself for better golf!
Let’s get one thing straight first: if you want to improve your golf, you got to yoga. Ideally every damn day. The Seattle Seahawks do it. The German national football team has its own yoga coach. A fair number of MMA fighters, arguably the toughest nails in the sports world by far, do yoga regularly. If they can do it, you can, too. And you don’t have to be able to remember (or pronounce) "utthita parshvakonasana" to feel how much your body profits from it.
Rake in the benefits for your golfing
Not only does yoga benefit almost every conceivable athletic pursuit, it’s also hard to pick which of its poses (or asanas) are best suited: they are essentially all beneficial. A simple cat-cow drill already increases your spine mobility, an ordinary series of sun salutations will improve your proprioception, i.e. your ability to tell which part of your body is doing what during movement – both indispensable for sports improvement. By consequence, a lot of golf pros stick to their daily yoga routine.
Protecting and nourishing your body
In a sport like golf that involves complex body rotations and movements coupling several muscle groups, yoga has very tangible advantages. For once, it protects you from incurring those small pestering injuries, hardly noticeable at first, but harming your game in the long run. Yoga increases your flexibility, and flexible limbs can potentially become damn fast-moving limbs indeed. And finally, being able to move freely will reduce the number of mistakes that sneak into your swing moves.
Five exercises specifically for golfers
So, all of yoga is great, but maybe there are a few exercises that deliver results a little faster or more perceivable than others. That’s why we picked the five following routines. The usual caveat applies: if you’re in doubt, please get medical advice first, and if you feel unduly uncomfortable doing them, stop. However, a small pang here, a bit of a drag there, that’s the common feel of yoga especially for newcomers. After all, physically, it’s like strength training against your own stiffness. Don’t let that discourage you. And don’t force yourself into the poses – rather melt into them, as the yoga parlance goes. Quite like golf, yoga can literally be a game of millimeters: move your personal limit a millimeter further each session, and you’ll be on a good way.
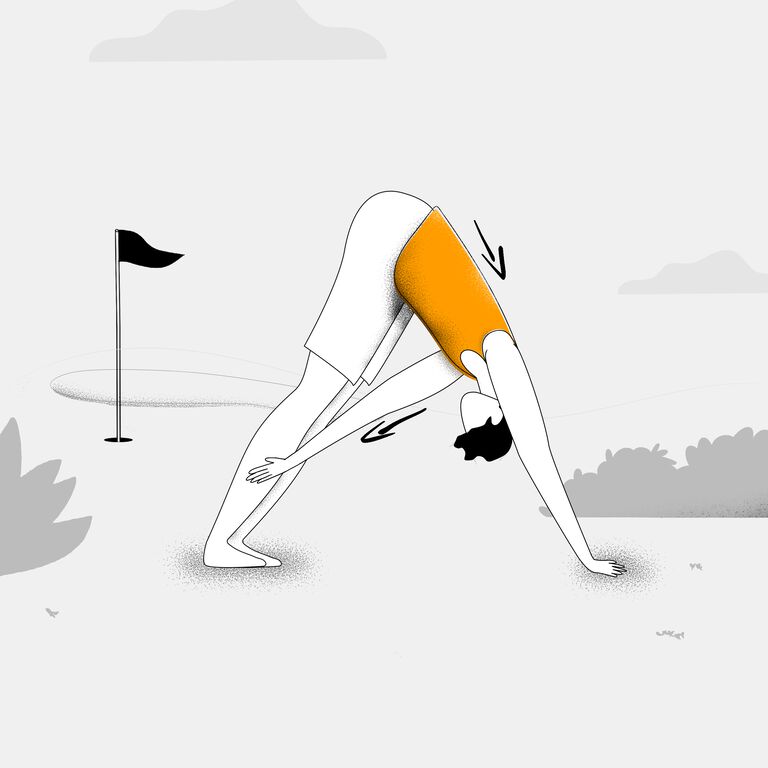
Down dog twist
This is actually a combination of two poses. Aim for simple Down Dog first. Start from table top, i.e. hands and knees on the ground, shoulders over your hands, hips over your knees. Now rise the knees, straighten your legs. Try reaching the ground with your ankles. (It’s not such a bother if your ankles stay in the air at first. Just aim for the ground and relax. Sooner or later, they will sink.) Put your front weight on your index and middle finger knuckles and straighten your arms. Pull your shoulders away from your ears! Go for a 90 degree angle between your upper body and your legs. In simple Down Dog, have a feeling as if your sternum wants to scratch the floor. (Of course, it should not! But have that feeling.) This alone is a great stretch for your breast muscles.
Now lift your right hand and reach through to the outside your left ankle. If you can’t reach it, touch your outside left calf, first. Then move deeper. With every exhale, go a little farther into the twist. With every inhale, increase pressure on the propping side, i.e. left hand and right foot. Relax and switch sides.
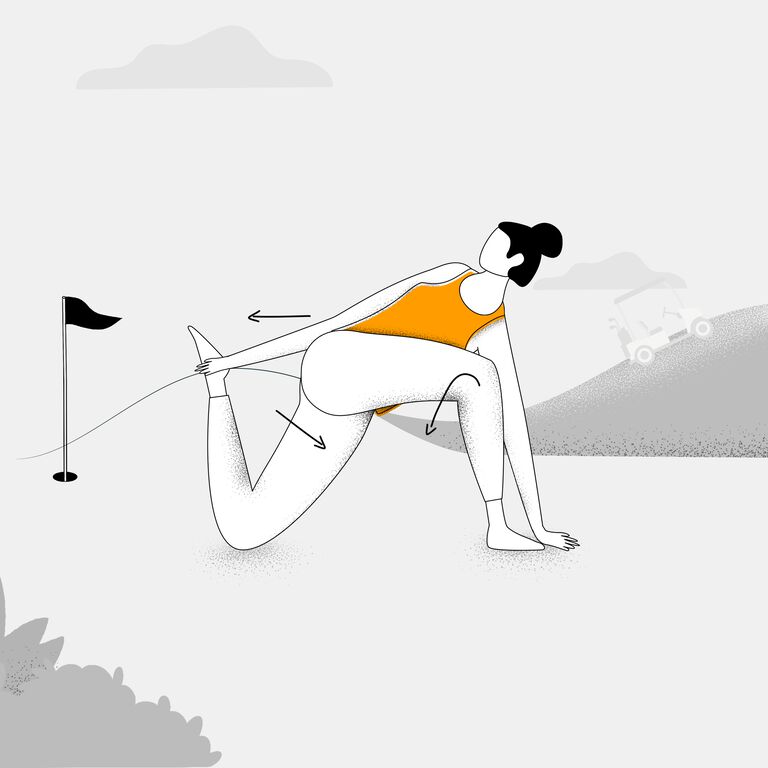
Lunge twist with quad stretch
Like the Down Dog Twist, this is actually two asanas in one. From a tabletop position, move your left foot to the left side of the mat, with the left hand on the inside of the foot. Straighten your right leg with only the right toes touching the ground. This pose is called Lizard. From here, have the right knee touch the ground, lift your right calf, turn your upper body left and reach for your right foot with your left arm. Try to kick your right instep into your left hand. Allow the left knee to fall slightly sideways. Stay grounded on the right hand, if possible, sink to the right forearm. Relax, then repeat on the other side.
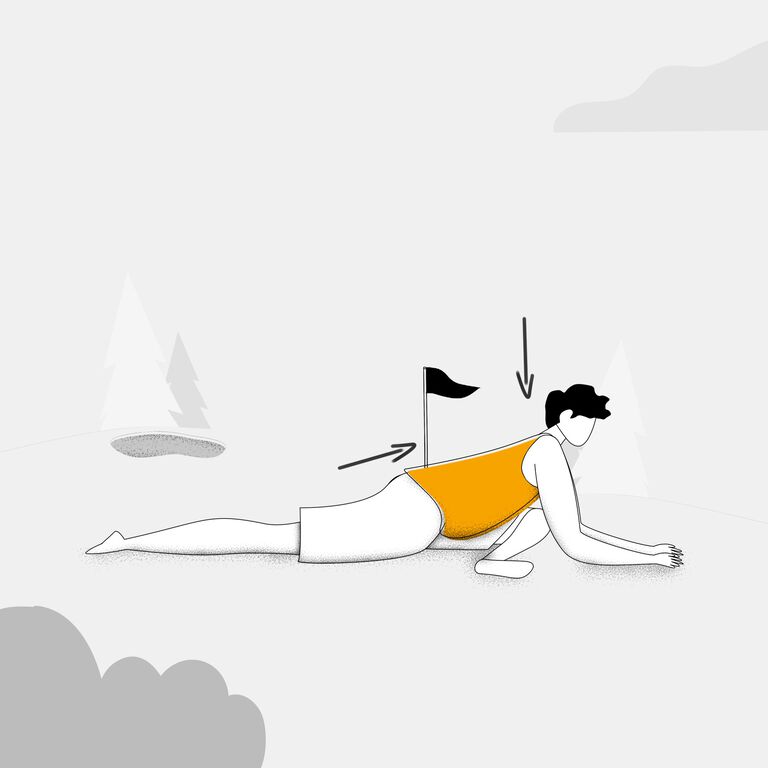
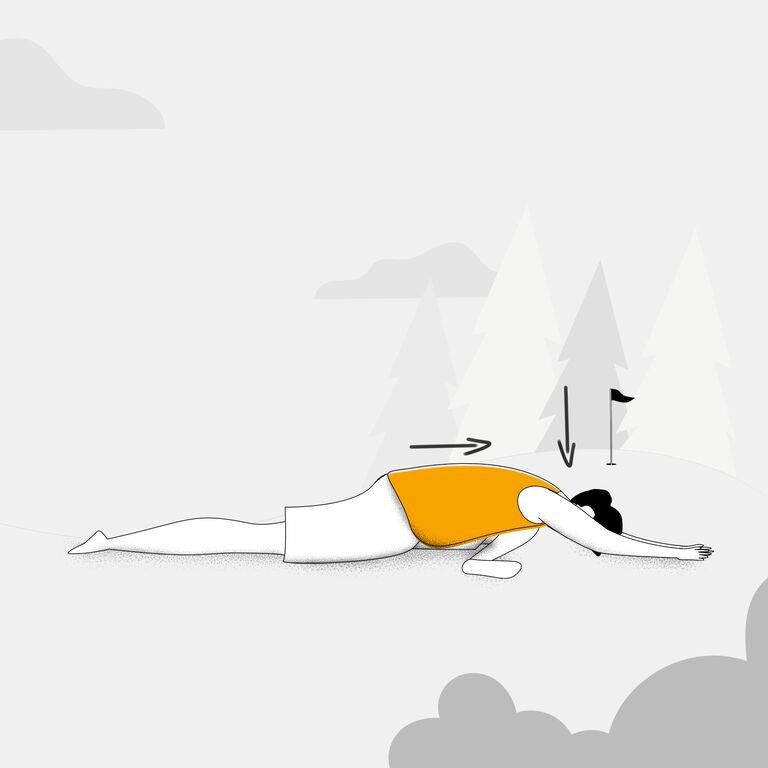
Royal pigeon pose
Start in a plank pose. Position your shoulders directly over your hands. Move the right knee towards your right wrist, your right foot pointing to your left wrist. Aim to have the shinbone 90 degrees to your mat. Now let your hip sink, straighten out your left leg parallel to your mat. Beginners’ hips don’t want to sink, usually. That’s okay – you can prop yourself up with your hands on books or yoga blocks, first. Relax, and keep thinking about the game of millimeters.
Try and keep your hips square to the front. If possible, bring your upper body down over your shin. With every inbreath, aim to stretch a little further, with every outbreath, sink a little deeper. Relax and switch sides.
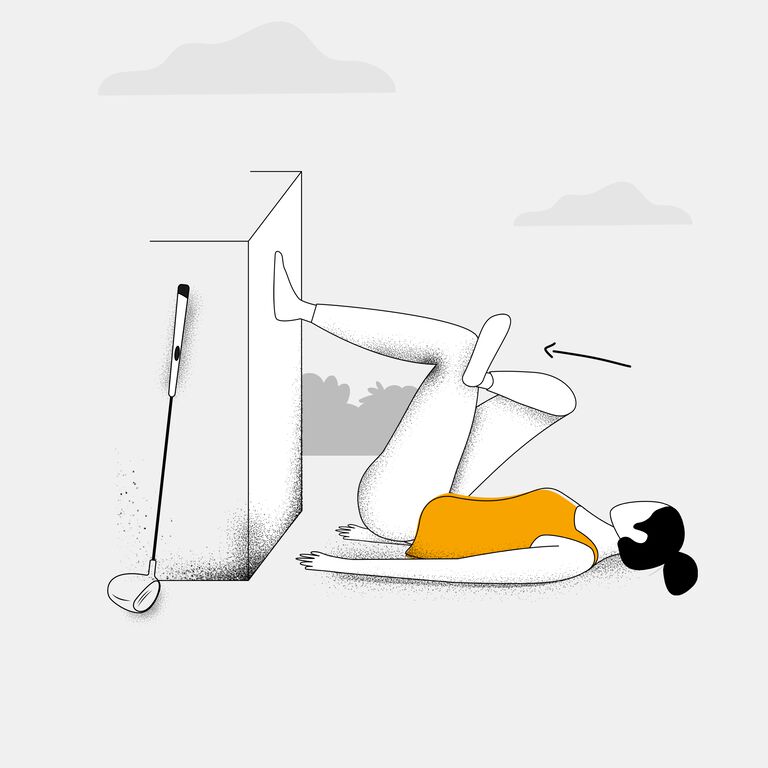
The easier variant: reclining pigeon
If the royal pigeon is too much at first, find a blank wall to rest your legs on. Lie flat on the floor with your legs parallel to each other straight on the wall. Put your right ankle on top of your left leg and bring the ankle down until your legs form a figure four. If you want more stretch, bring the left foot down as well. Try to keep as much of your lower back to the floor as possible. Relax, then do the other side as well.
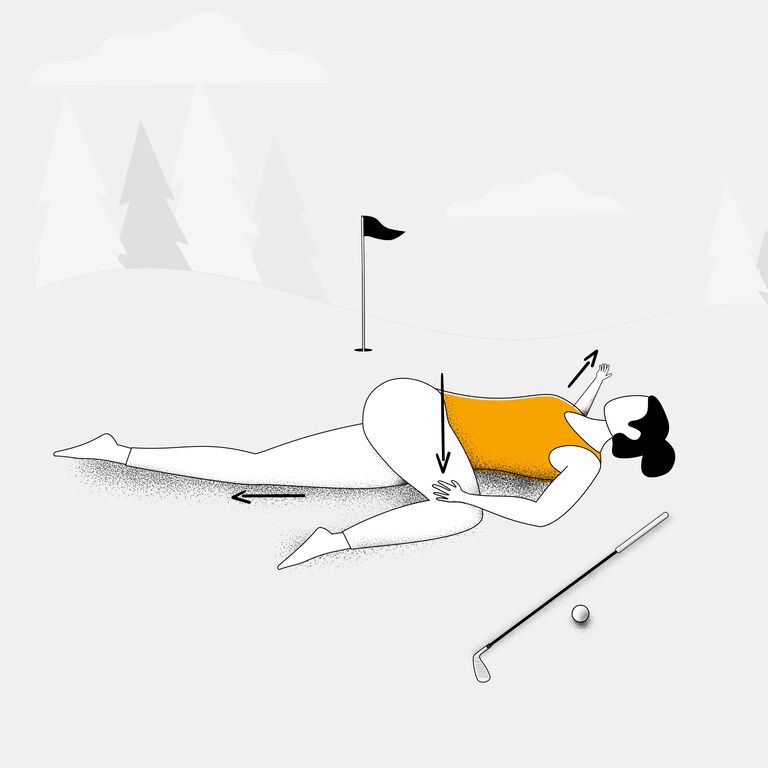
Supine twist
The supine twist seems to have been created for golf folks. Do it often. Lie flat on your back. Pull up your right knee and hug it into your chest. Let the right arm rest at 90 degrees on the ground like a t-shape. Keeping the left leg straight and your right shoulder to the ground, drag your right knee across your body to the left. Ideally, until the kneecap touches the ground. Look towards the right. With every inhale, grow a little longer, with every exhale, twist a little deeper. Help the knee back up again, relax, and continue with the other leg. Initially, put a little more emphasis on the right shoulder staying grounded rather than the kneecap touching the floor. Later, with more familiarity and more melting, aim for both.
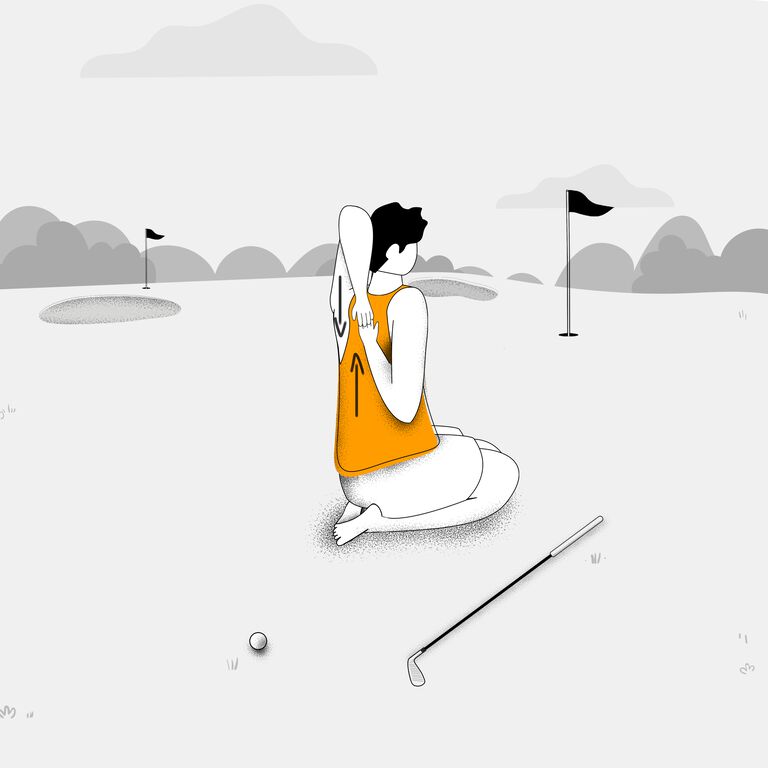
Cow face arms
Stretch up your right arm, palm out, and bring your left arm down, palm facing back. Bend at your elbows and try not to touch your back while you aim to make both hands meet. If possible, interlock your fingers and breathe. If the interlocking is too difficult, try using a belt or a strap. Hold for a while, then repeat on the other side.

